搭建hexo博客
安装hexo
安装hexo 首先如果没有安装Node.js和Git, 则要先安装这两个
npm install -g hexo-clihexo的更新
npm update -g(好像得重新按照1中的命令重新安装hexo)
创建本地博客
初始化博客 在你想建立博客的文件夹下执行
hexo init选择主题 选择自己喜欢的主题, 一般从github上clone到theme文件夹下; 然后根据主题的wiki进行配置
部署到github上
本地预览
hexo server在网页http://localhost/4000可以进行本地预览部署 配置站点配置文件, 然后
hexo generate,hexo deploy
设置next主题本地搜索引擎
- 安装searchdb插件
npm install hexo-generator-searchdb --save
设置rss
- 安装feed插件
npm install hexo-generator-feed --save 站点配置文件 加入以下feed配置: > feed: > type: atom > path: atom.xml > limit: 20
主题配置文件 以next主题为例:
rss: /atom.xml
设置sitemap
- 安装sitemap插件
npm install hexo-generator-sitemap --save - 站点配置文件 加入以下sitemap配置:
1
2plugins:
- hexo-generator-sitemap - 可以在
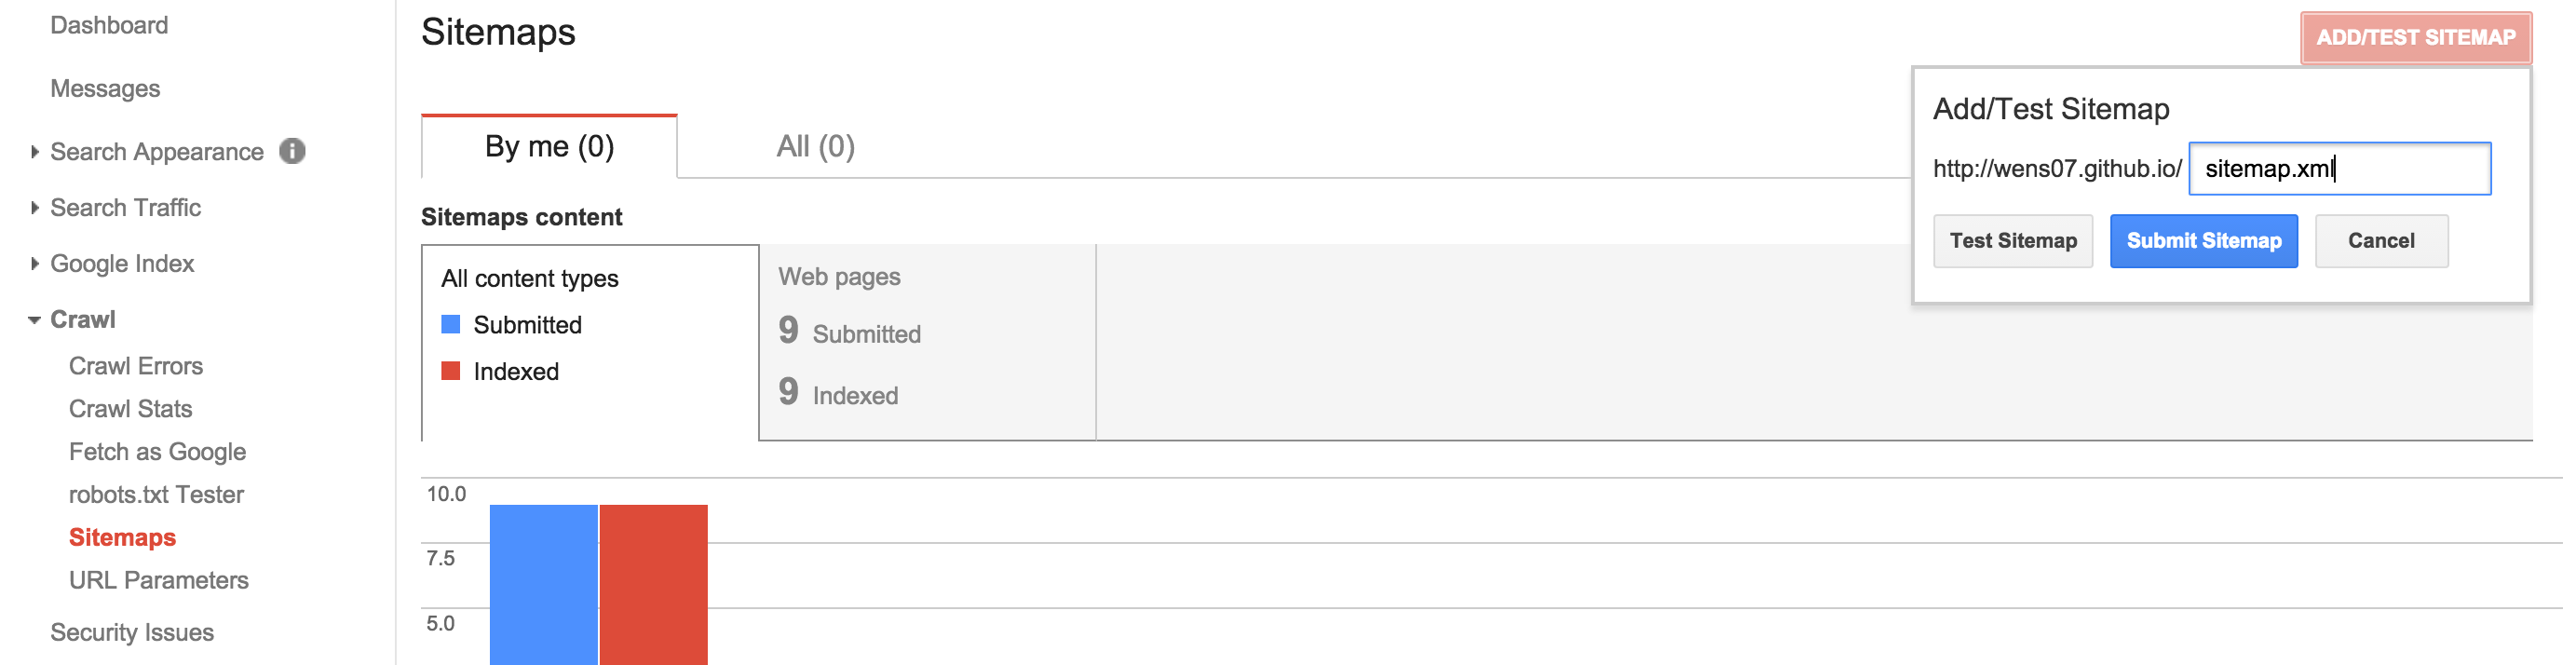
localhost:4000/sitemap.xml看到网站的sitemap 然后提交到你网站所用的搜索引擎上, 如swiftype, google, baidu等 >以google为例: (google站点管理)
swiftype设置 swiftype support sitemap.xml 它根据Robots.txt来读取sitemap robotstxt插件的安装与配置
vps上配置hexo博客
安装nginx
yum install nginx防火墙允许http/https服务
firewall-cmd --permanent --zone=public --add-service=httpfirewall-cmd --permanent --zone=public --add-service=https设置网站目录 设置location下的root为hexo生成的public文件夹 > 如果出现403forbidden, 可能是权限问题, nginx.conf第一行 > user nobody 改为 user root
绑定域名 & 设置https
server_name字段改为你的域名
1 | # included in http brace |
安装waline评论系统
- 根据waline官网操作部署好waline服务端(https://vercel.com/wens07)
- hexo安装插件支持
sudo npm install @waline/hexo-next - config.yml对waline进行配置
- 进入waline的后台管理进行注册,第一个注册即为管理员 https://waline.wengqiang.site/ui/register
设置hexo的页面数学公式渲染
- 打开next theme中的math选项
- 使用pandoc渲染
> npm un hexo-renderer-marked
> npm i hexo-renderer-pandoc
> if system not install pandoc, you should insall it,apt install pandoc